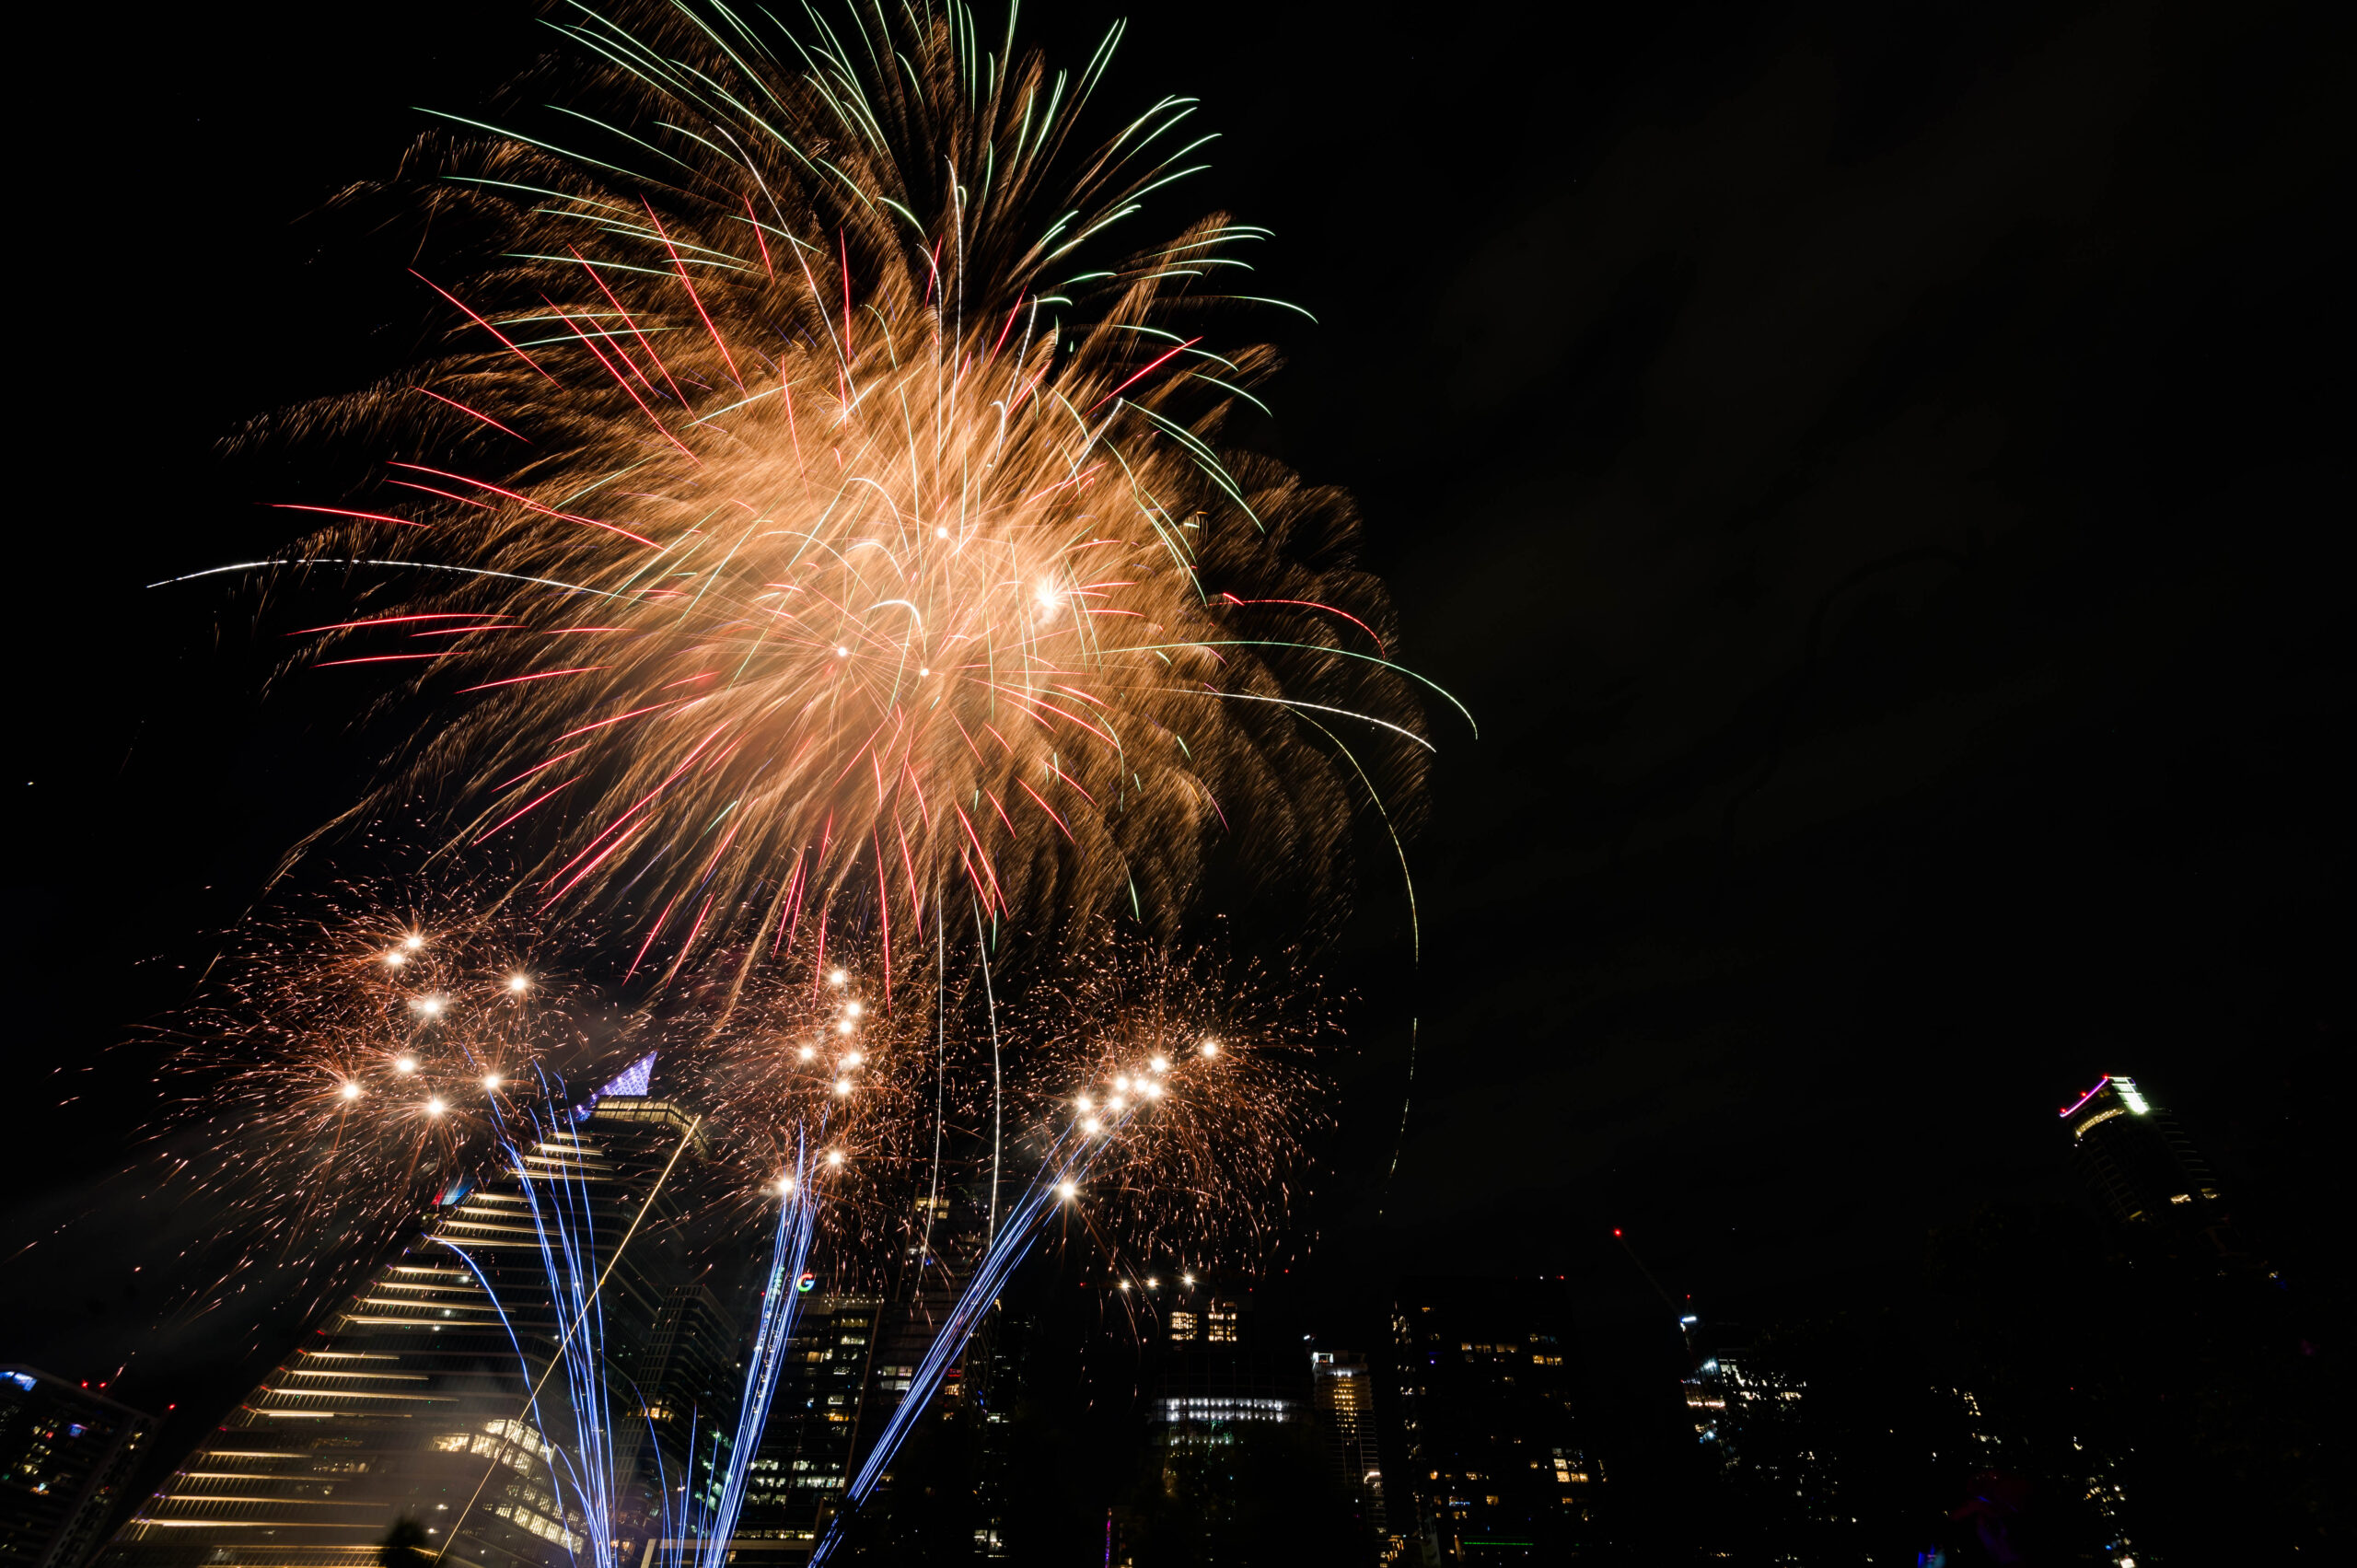
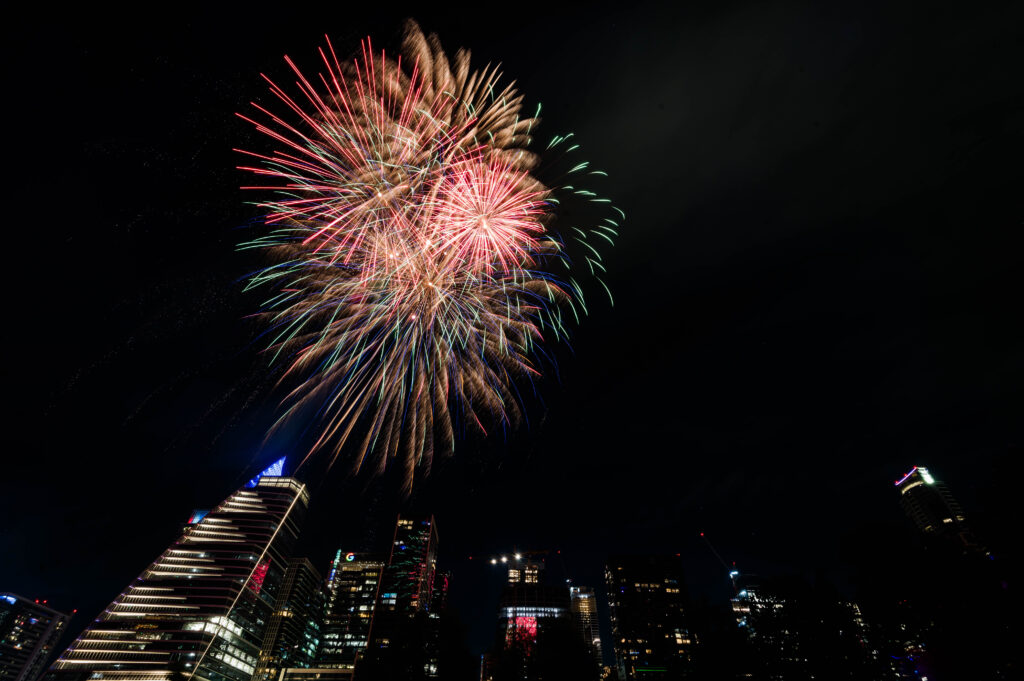
This year we took our kids to Auditorium Shores on Ladybird Lake to see the Fireworks over the Austin Skyline. So I thought I would share how I approach Firework Photography. I have been thinking about doing this since we moved back to Texas in 2021 and this was the year. Since this was our first time attending this event, we really didn’t know what to expect so I bought tickets for reserved seating near the stage. I didn’t realize that the fireworks were going to be straight over our heads! We all laid on our backs to see the fireworks, which is also why my camera’s angle is a bit skewed. Just below the skyline is an ugly fence that I cropped out just by angling the camera upwards.
Firework Photography: How To?
Equipment used:
- Nikon D780
- Nikkor 16-35mm F4.0
- Yongnuo Remote Trigger
Technique:
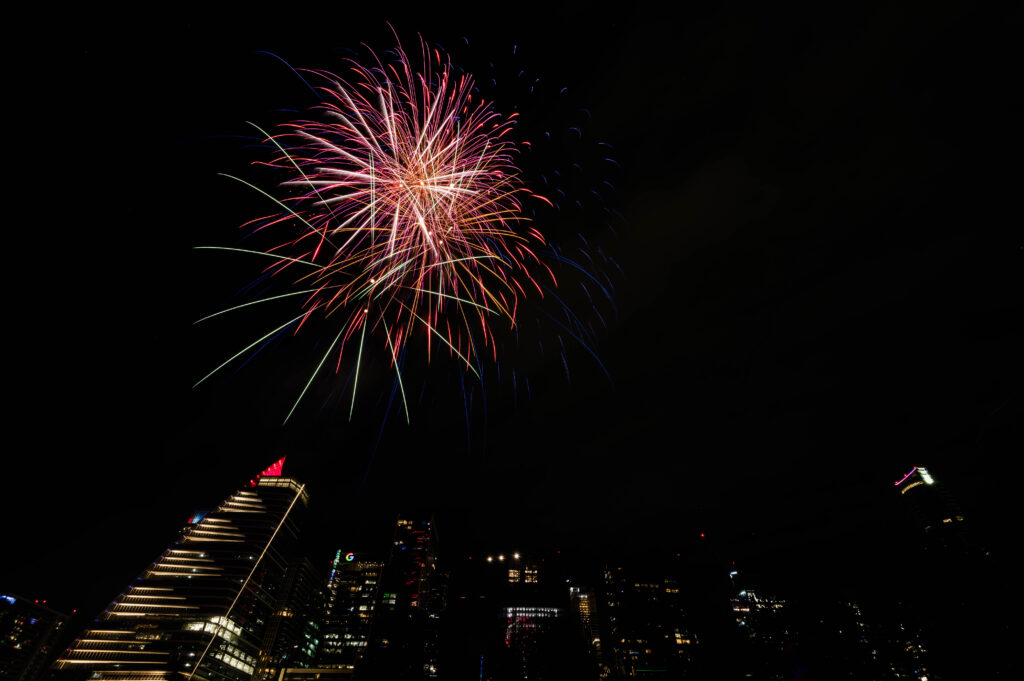
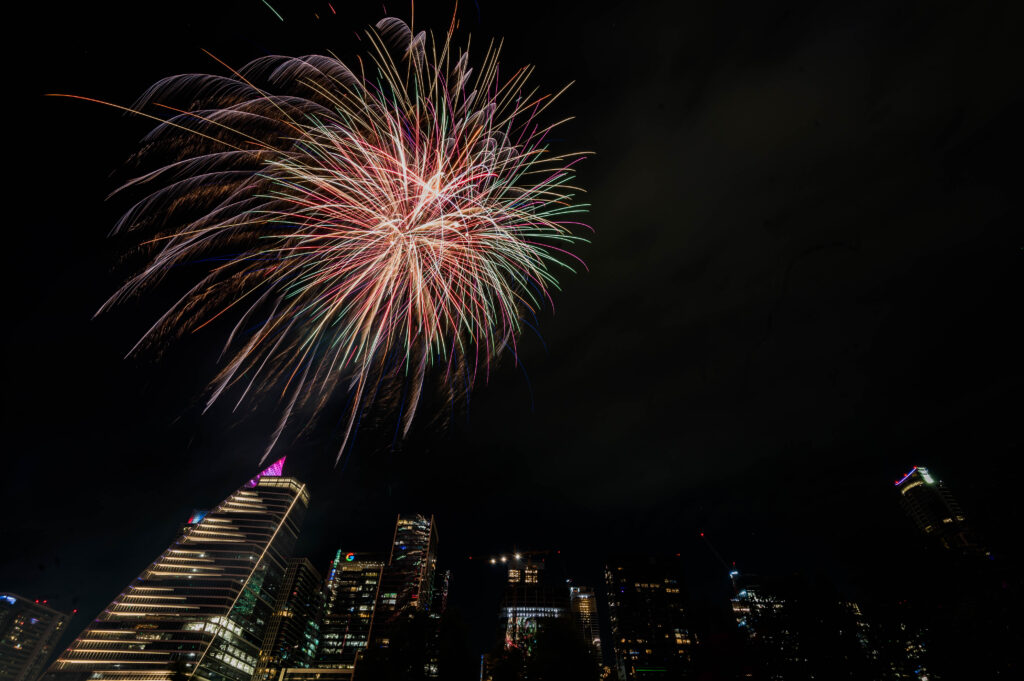
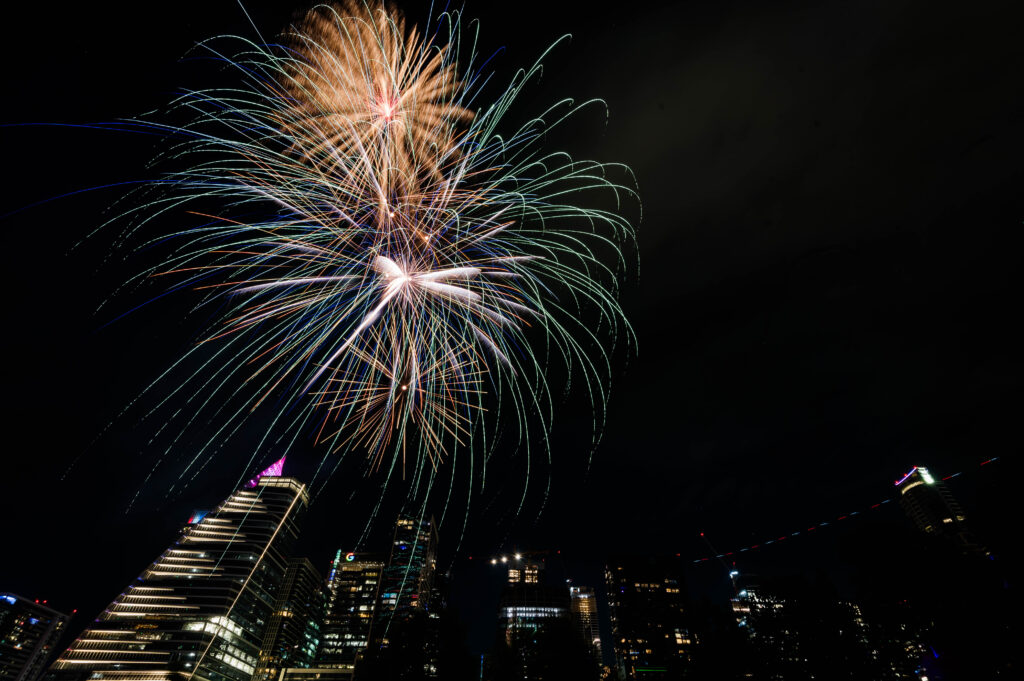
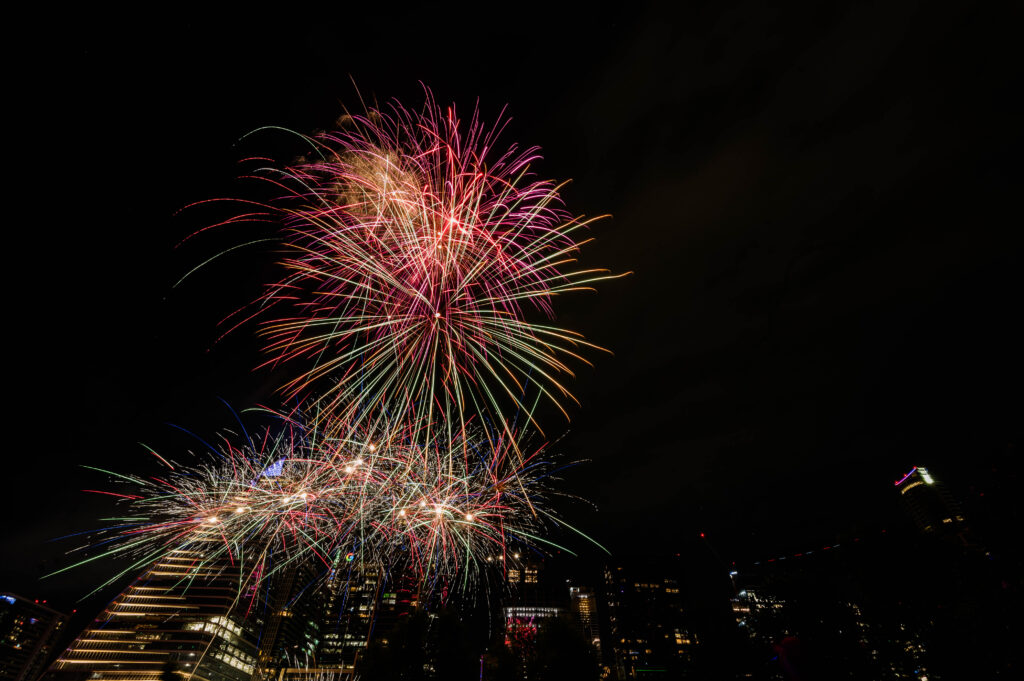
Composition: Consider what is important in your setting. Do you want anything in the foreground? In this case, I was avoiding a white picket fence that was about 10 feet in front of me. I came for the skyline, so that’s how I framed this series.
Settings: Fireworks look best when it’s the darkest outside, so you’re going to want to set your ISO to a low setting. These were taken at ISO 100, since that’s the lowest setting my camera has. Next consider what you want to have in focus and adjust your aperture to between F11-F16. You can adjust this after you take a test shot. The last setting is your Shutter Speed. Which greatly depends on how bright you want your fireworks. I started at 15 seconds and reduced it to 10 seconds because the whites started clipping or being overexposed. These are the three settings that you’ll adjust until you are happy with how it looks. My goal was to try and balance the lights on the buildings with the brightness of the fireworks and 10 seconds was ideal for me.
Remote: You can use the Nikon remote for the camera, I happen to have a Yongnuo Remote Shutter Release that I use for Real Estate work, and it made it so easy to lay back and watch the show and still get a few snaps in. Using a remote will decrease the chance for adding in unintentional motion blur by manually pressing the shutter button. This gives you the best chance for the sharpest and clearest image possible.
Edit:
I use Lightroom to edit, but you could use these tips on just about any editing program.
- Look at your brightest brights and bring back those highlights and whites until they have a color or tint and aren’t solid white.
- Then adjust your shadows and black sliders until any smoke from the fireworks is reduced or removed.
- Adjust white balance to reflect a warm or cool tone. My sweet spot was between 3500-4000K
- Clone/Heal anything that’s out of place. There were 2 drones in the sky and their lights drew a dotted line in my sky. Which you can see in the photo above in the bottom right quadrant.
- Sharpen – 50 amount, 1.0 Radius, 25 Detail, 75 Masking
Application:
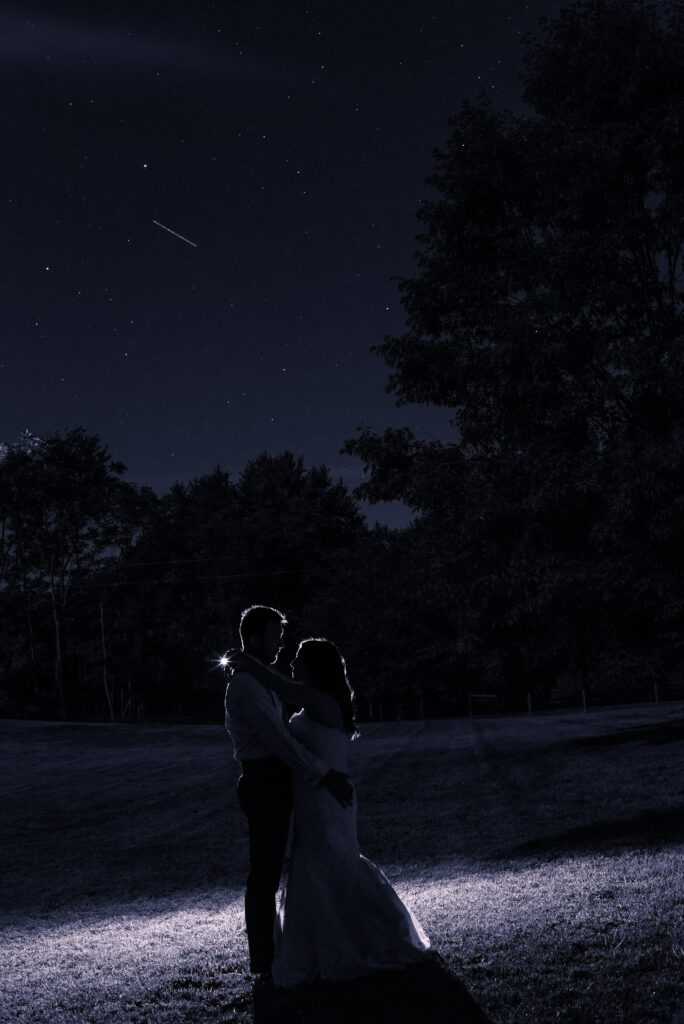
This long exposure technique can easily be applied to include fireworks into portraits. Whether it’s a themed portrait session or a Bride & Groom are using Fireworks at their Reception, all you would need to do is add a flash on a stand aimed at your subject and set your camera to rear sync. The camera will allow the Fireworks to bloom and then at the last millisecond, pop a flash and expose for your subject. This layered effect looks incredible and takes some practice to get it right.
The photo below was taken during a Meteor Shower event at the couples’ summertime Wedding Reception. I had hoped that we would catch a shooting star during one of our 20-30 second exposures.
To learn more about my Wedding & Portrait Services, please visit my home page.

0 COMMENTS